
Introduction:
In this Blog, we'll walk through the process of customizing a Word template on your local machine, including enabling the developer tab, adding tables with dynamic text controls, and finally, uploading the template to OneDrive.
Step 1: Enable Developer Tab in Word
- Open Microsoft Word on your local machine.
- Go to "File" > "Options" > "Customize Ribbon."
- In the right pane, check the "Developer" option.
- Click "OK" to enable the Developer tab.
Step 2: Add Tables in Word
- Select the "Developer" tab.
- Click on "Design Mode" to enable design features.
- Add a table for headings:
- Insert > Table > Insert Table (2 columns, 1 row).
- Enter the heading text in each cell.
- Add a table for rows:
- Insert > Table > Insert Table (2 columns, 1 row).
- This table will serve as a template for dynamic content.


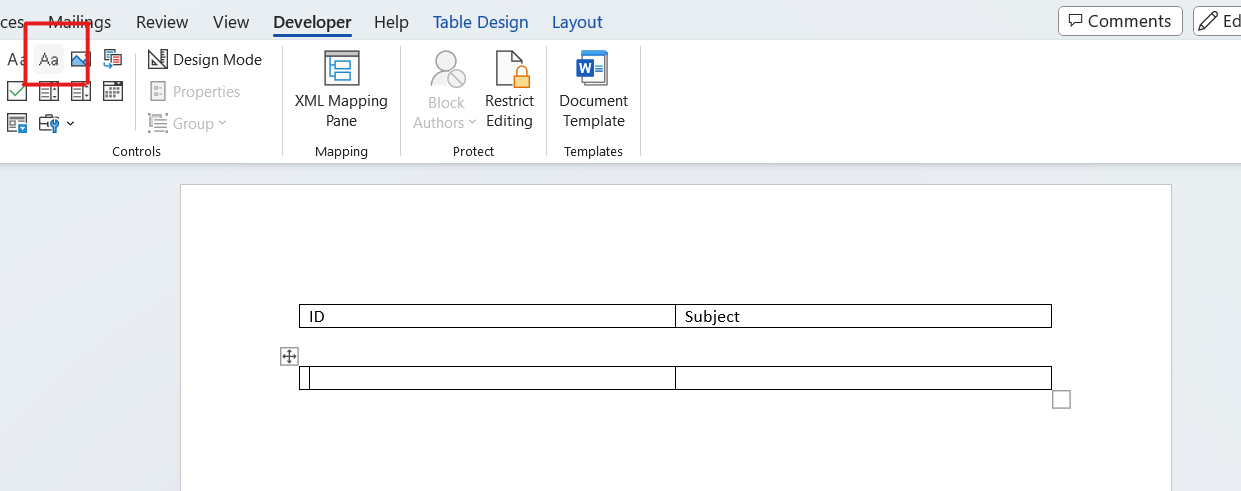
Step 3: Add Dynamic Text Controls
- Within the row table, place the cursor in the first cell.
- Type the Heading in the record cell, Select the text you added. (This will be used when dynamically mapping the values in Power Automate etc)
- In the "Developer" tab, click on "Rich Text Content Control" to add dynamic text controls.
- Repeat the process for the second cell.
- Customize the placeholder text in each control to represent the data you want to populate dynamically.
Step 4: Repeating Section Content Control
- Select the entire row table.
- In the "Developer" tab, click on "Repeating Section Content Control."
- This allows the entire row to be repeated for each record in your data.

Step 5: Save the Word Document Locally
- Save the Word document on your local machine.
Step 6: Upload the Word Document to OneDrive (Optional)
- Go to OneDrive and navigate to the folder where you want to store the document.
- Upload the Word document.
Conclusion:By following these steps, you've customized a Word template with dynamic text controls and tables, and you've uploaded it to OneDrive. Now, when your Power Automate flow triggers the document generation process, it will dynamically populate this template with data from Dataverse.
Comments
Post a Comment