
In this blog post, we
will walk through the steps to create dynamic cards in Power Pages using Liquid
and FetchXML. We will also generate FetchXML using the Dataverse REST Builder.
Prerequisites
- Access to a Power Apps environment with
necessary permissions.
- Basic understanding of Power Pages,
Liquid, and FetchXML.
Step 1: Generate
FetchXML using Dataverse REST Builder
- Open the Dataverse REST Builder.
- Select the entity you want to fetch data
from.
- Define the fields and filters as per your
requirements.
- Click on FetchXML.
This will generate the FetchXML code that we will use later in our web
template.


Step 2: Create a
Web Template in Power Pages Management Model Driven App
- Navigate to the Power Pages
Management Model Driven App.
- Click on Web Templates.
- Click on New to create a
new web template.
- Provide a name for the web template.
- In the Source field, write your HTML code first (Containers, Columns etc.) paste the FetchXML code generated in Step 1.
Wrap the FetchXML code with Liquid tags to create a dynamic content.


{% fetchxml myFetch %}
<!-- Paste your FetchXML here -->
{% endfetchxml %}

Step 3: Create a Page Template
- Write your HTML Code and Liquid loop that will contain the Cards.
- Add the repetitive bootstrap card HTML Code
Reference the Iteration Properties where needed by referencing Liquid tag
My code:<div class="row">
{% for results in myFetch.results.entities %}
<div class="col-sm-6">
<div class="card" style="padding: 20px;border: 1px solid gainsboro; margin-top: 30px; background-color:#efefef; box-shadow: rgba(0, 0, 0, 0.24) 0px 3px 8px;">
<div class="card-body">
<h5 class="card-title">{{ results.name }}</h5>
<p class="card-text">{{ results.cs_subject }}</p>
<a href="/View-Application/?id={{ results.cs_applicationid }}" class="btn btn-primary">View Application</a>
</div>
</div>
</div>
{% endfor %}
</div>
- Save the Record.


Step 5: Create a
Page Template
- In the Power Pages Management Model Driven
App, click on Page Templates.
- Click on New to create a
new page template.
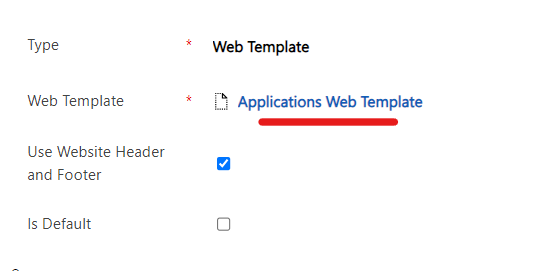
- Provide a name for the page template. And select the type as "Web Template"
- In the Web Template lookup
field, select the web template created in Step 2.


Step 5: Use the
Page Template in Your Desired Webpage
- Navigate to the webpage where you want to
display the dynamic cards.
- In the Page Template lookup
field, select the page template created in Step 3.
- Save the changes. Go to Power Pages and Sync your website and preview the changes


Output:

Congratulations! You
have successfully created dynamic cards in Power Pages using Liquid and
FetchXML. The cards will display data fetched from the FetchXML query, and the
data will be dynamically updated based on the FetchXML code in the web
template. Happy Power Apping!
Comments
Post a Comment