Prerequisites
- Access to Power
Automate
- A SharePoint
Online site
- Necessary
permissions to create sites and manage content types
1. Create a SharePoint
Site
First, we need to create a SharePoint site where the custom
content type will be added.
POST https://<your-tenant>.sharepoint.com/_api/SPSiteManager/create
{
"request": {
"Title": "Your
Site Title",
"Url":
"https://<your-tenant>.sharepoint.com/sites/YourSiteName",
"Lcid": 1033,
"ShareByEmailEnabled": false,
"Classification":
"Low Business Impact",
"Description":
"Site for your specific purpose",
"WebTemplate":
"STS#3",
"SiteDesignId":
"6142d2a0-63a5-4ba0-aede-d9fefca2c767",
"Owner":
"your-email@your-domain.com",
"WebTemplateExtensionId":
"00000000-0000-0000-0000-000000000000"
}
}
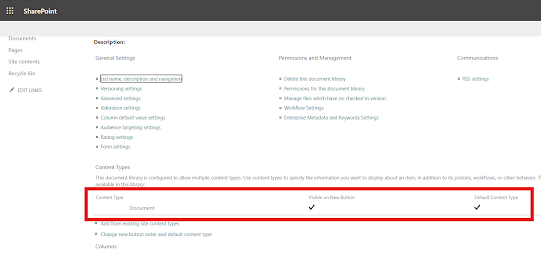
2. Enable Content Type
Management
Enable content type management on the default document
library.
POST https://<your-tenant>.sharepoint.com/sites/YourSiteName/_api/web/lists/getbyTitle('Documents')
{
"__metadata": {
"type": "SP.List" },
"ContentTypesEnabled":
true
}
3. Get Compatible Content
Types from the Content Type Hub
Retrieve compatible content types from the Content Type
Hub.
GET
https://<your-tenant>.sharepoint.com/sites/YourSiteName/_api/v2.0/sites/YourSiteName/ContentTypes/getCompatibleHubContentTypes
4. Add Custom Content Type
from Content Type Hub
Use the addCopyFromContentTypeHub method
to add the custom content type to the document library.
POST https://<your-tenant>.sharepoint.com/sites/YourSiteName/_api/v2.0/sites/YourSiteName/ContentTypes/addCopyFromContentTypeHub
{
"contentTypeId":
"Your-Custom-ContentType-ID"
}
5. Add the Custom Content
Type to the Document Library
Add the custom content type to the document library.
POST https://<your-tenant>.sharepoint.com/sites/YourSiteName/_api/web/lists/getbytitle('Documents')/ContentTypes/AddAvailableContentType
{
"contentTypeId":
"Your-Custom-ContentType-ID"
}
6. Get Default Content
Type ID
Retrieve the default content type ID to remove it.
GET https://<your-tenant>.sharepoint.com/sites/YourSiteName/_api/web/lists/getbytitle('Documents')/ContentTypes?$filter=Name
eq 'Document'
7. Remove Default Content
Type
Remove the default content type from the document library.
POST
https://<your-tenant>.sharepoint.com/sites/YourSiteName/_api/web/lists/getbytitle('Documents')/ContentTypes('<Default-ContentType-ID>')/deleteObject()
8. Save the Site URL in
the Client Database (Optional)
Optionally, save the new site URL in your client database
for future reference.


good Read ⚡️
ReplyDelete